My youngest son & me

My youngest son & me

About me

Hi!
My name is Tanja (Sater) Miller and I'm excited about sharing my journey of converting my favorite recipes to gluten free! I am not a fancy cook - I prefer just a casual, fun meal. I am married with grown children (and have small grandchildren) & 3 dogs. I work full time as a registered nurse & I am a geek. Yes, I love Star Trek, Star Wars, Fringe, Firefly, Farscape and most of the other Scify shows. You will probably see a little of my geek side come out once in a while! Please join me on my journey of cooking, baking & converting every day recipes into yummy gluten free meals that everyone can enjoy (not just those with a gluten allergy!) Don't be shy about checking out my recipes....I have the gluten free version along with the regular recipe that I adapted from!

Sunday, October 20, 2013

Lasagna

Gluten Free Lasagna! :)  Oh Lasagna....I have missed you during my gluten free journey! Lasagna is one of my favorite Italian foods and since I have not been able to find a decent lasagna noodle until now...it hasn't been part of my life for a couple of years. My family all love lasagna so it is something I like to make when the gang is all home. I like it because it goes together relatively quickly, feeds a bunch of people, can be made in advance and left overs (if there are any!) are even better! For those of you that didn't know....YOU DON'T HAVE TO PRE-COOK ANY LASAGNA NOODLE IN ADVANCE! Yes, that is correct! You don't have to buy the specially marked lasagna noodles that claim you don't have to cook them first. You can just layer the hard, uncooked lasagna noodles and they will cook as the sauce and cheese melt. Seriously....I've done it that way for years with all the brands! Otherwise...well, I wouldn't bother making lasagna. I hated fighting with the limpy cooked noodles that would tear.

I learned from an Italian neighbor years ago that you shouldn't pre-cook the noodles. They will absorb the flavors and liquid creating a lasagna that will be less "soupy" and it will hold together fantastically when it is cut. The photo above is taken 5 minutes after I removed it from the oven! Seriously! There are many different versions of lasagna out there. I have several friends that are from Italy and quite a few more that are first generation Italian-Americans. They ALL make lasagna differently. I have to say that I have enjoyed the variations from ingredients to sauces....but this is the one I like best. It is my own recipe that I have tweaked from several recipes. Of course you can change this up to add or delete your favorite ingredients. I used jar sauce today. Yes, I know all of my Italian friends just cringe when I say "store bought sauce"....but seriously....I really like Hunts brand in the can. I don't buy it because it is cheap...I buy it because I really like the flavor and of course it is convenient. My mom always made homemade sauce when I was younger...and canned it for future uses. I don't bother because the Hunts brand is already affordable, tasty and I don't have the mess and time involved in preparation. Plus....canning jars are not cheap these days! However....for this recipe you can either buy your favorite store bought sauce or make your own from scratch. It is a personal preference.

I also want to point out that I use BOTH cottage cheese AND ricotta cheese in this recipe. Again....my Italian friends will cringe! Let me explain WHY I do this. My mom used to use just cottage cheese in her lasagna when I was growing up. Mainly because we lived in a small town and choices were very limited. I never even heard of ricotta cheese until I got married. The first time I had lasagna with ricotta cheese....I wasn't sure if I liked it. It was too rich and had a slightly sweet flavor. It was a little too much for me. The next time my mom made her version of lasagna with just the cottage cheese....well it was too bland in comparison. I mix both the cottage cheese and the ricotta cheese together. I like the balance it provides. It has the rich sweet flavor of ricotta with the heartier more subtle flavor of cottage cheese. I also don't add eggs to my lasagna. I know a lot of my friends do....when I ask why....well the answer is always the same: "because my mom/dad did". Well...I don't add them. No one has proved to me that it makes it stick better or flavors the lasagna so I just don't add any. Until I am proven wrong...I don't add any eggs.

My kids wanted me to post my recipe on here for lasagna since it is one they really enjoy and they wanted the convenience of having access to the recipe via the internet so they can cook it anywhere, share it or gather ingredients by reading it from their smart phones. I was hesitant because....well...I am not of Italian decent and I don't claim that my recipe is "authentic" or even fabulous. I just know that my family likes and it they wanted it posted. I am sharing it in case you want to try it or tweak a basic recipe to your liking. If you don't have a gluten allergy then you can just use regular lasagna noodles. (I found the gluten free ones I used today at Walmart for about $2.19/box). However, I am noticing a lot of other name brand pasta companies are beginning to make gluten free noodles and they are also becoming affordable. Be sure to look when you go shopping because you might be surprised. I was pleasantly surprised recently finding both Barilla pasta & Ronzoni pasta have some gluten free noodle choices available now!)

Lasagna Recipe:
(I generally make my lasagna for a crowd in a heavy duty rectangular roasting pan that has quite a few layers and is enough ingredients that would make two 9x13 pans). The recipe below is just for one 9x13 pan of lasagna)
  • 1 box of lasagna noodles (I used gluten free noodles but if you don't have a gluten free allergy then you can just use regular lasagna noodles. No need to pre-cook noodles!)
  • 1 (16 oz.) container of Ricotta cheese (I used fat free today but you can use regular)
  • 1 (16 oz.) container of Cottage Cheese (I used 1% fat small curd today because I find that the fat free is runnier and I like it less runny but you can use any style cottage cheese you like). 
  • 1 can (15 oz) chopped tomatoes (I used the Italian style with basil and garlic added)
  • 1 1/2 cans of Hunts Zesty and Spicy spaghetti sauce (I save the other half of the can in case people want to add additional sauce on top when serving it. Some people like their lasagna a little more saucy and like to dip their bread in it)
  • 1-2 pounds of lean ground hamburger (I used about 1.5 pounds today because that is what I had left in my refrigerator and I wanted to use it up. Depends on how meaty you like your sauce. If you prefer vegetarian then you can substitute either the soy crumbles or leave the meat out)
  • 1 pound of ground sausage (you don't have to use this but I think it adds a little zesty flavor to the lasagna and we really like the combination. But if you don't eat pork or don't have any handy then just leave it out!)
  • 3-4 cups of shredded mozzarella cheese (or Italian blend cheese)


The ONLY thing you need to pre-cook in this recipe is the meat. Drain the grease well. You don't want grease floating around in your lasagna later. Combine the sauce and tomatoes (including tomato juice) with the meat and set aside. You don't need to heat up the sauce...it will heat up in the oven. Save yourself the step! Combine the Ricotta cheese & Cottage cheese together. I don't add any salt because the sauce and sausage are usually salty enough but taste it to be sure. I lightly spray my 9x13 (or roasting pan if doubling the recipe for a huge crowd!) with non-stick cooking spray. It just makes the lasagna come out much easier. Layer the UNCOOKED single layer of the lasagna noodles in the bottom of the pan. You may have to break some of the noodles to get them to fit. That is okay. The lasagna will be forgiving if you have some broken pieces in there! I generally spoon a layer of the meat sauce onto the noodles. You need to put just enough to cover the noodles so that when the sauce heats up it will cook the noodles when baking! Top the meat sauce with a layer of the Ricotta/Cottage cheese mixture and about 1 cup of the shredded cheese. Repeat layers ending with a layer of noodles on top with a little bit of sauce and shredded cheese. You should not end up with the Ricotta/Cottage cheese mixture above the top layer of noodles. The only thing on the last layer on top should be noodles, remaining sauce and some shredded cheese. If you are finding that you are skimpy on sauce for the top layer...just add the remaining 1/2 can. Cover with foil (I spray mine with non-stick cooking spray to prevent cheese from sticking to it). At this point you can either refrigerate or freeze for a later date. I generally make mine the day before and put in the refrigerator to bake the next day or I make it early in the morning and bake it close to dinner time. I personally think that by letting it sit for a few hours allows the sauce to soften the noodles a little bit but you really don't need to do that if you want to bake it right away. Bake in 350 degree oven (with pan covered in foil) for about 70 minutes or until a knife can be easily inserted into the noodles and they are soft. Remove foil and bake additional 10-15 minutes until cheese is bubbly on top and slightly golden. Let stand at least 5 minutes prior to slicing. Serve with additional sauce on top if desired.

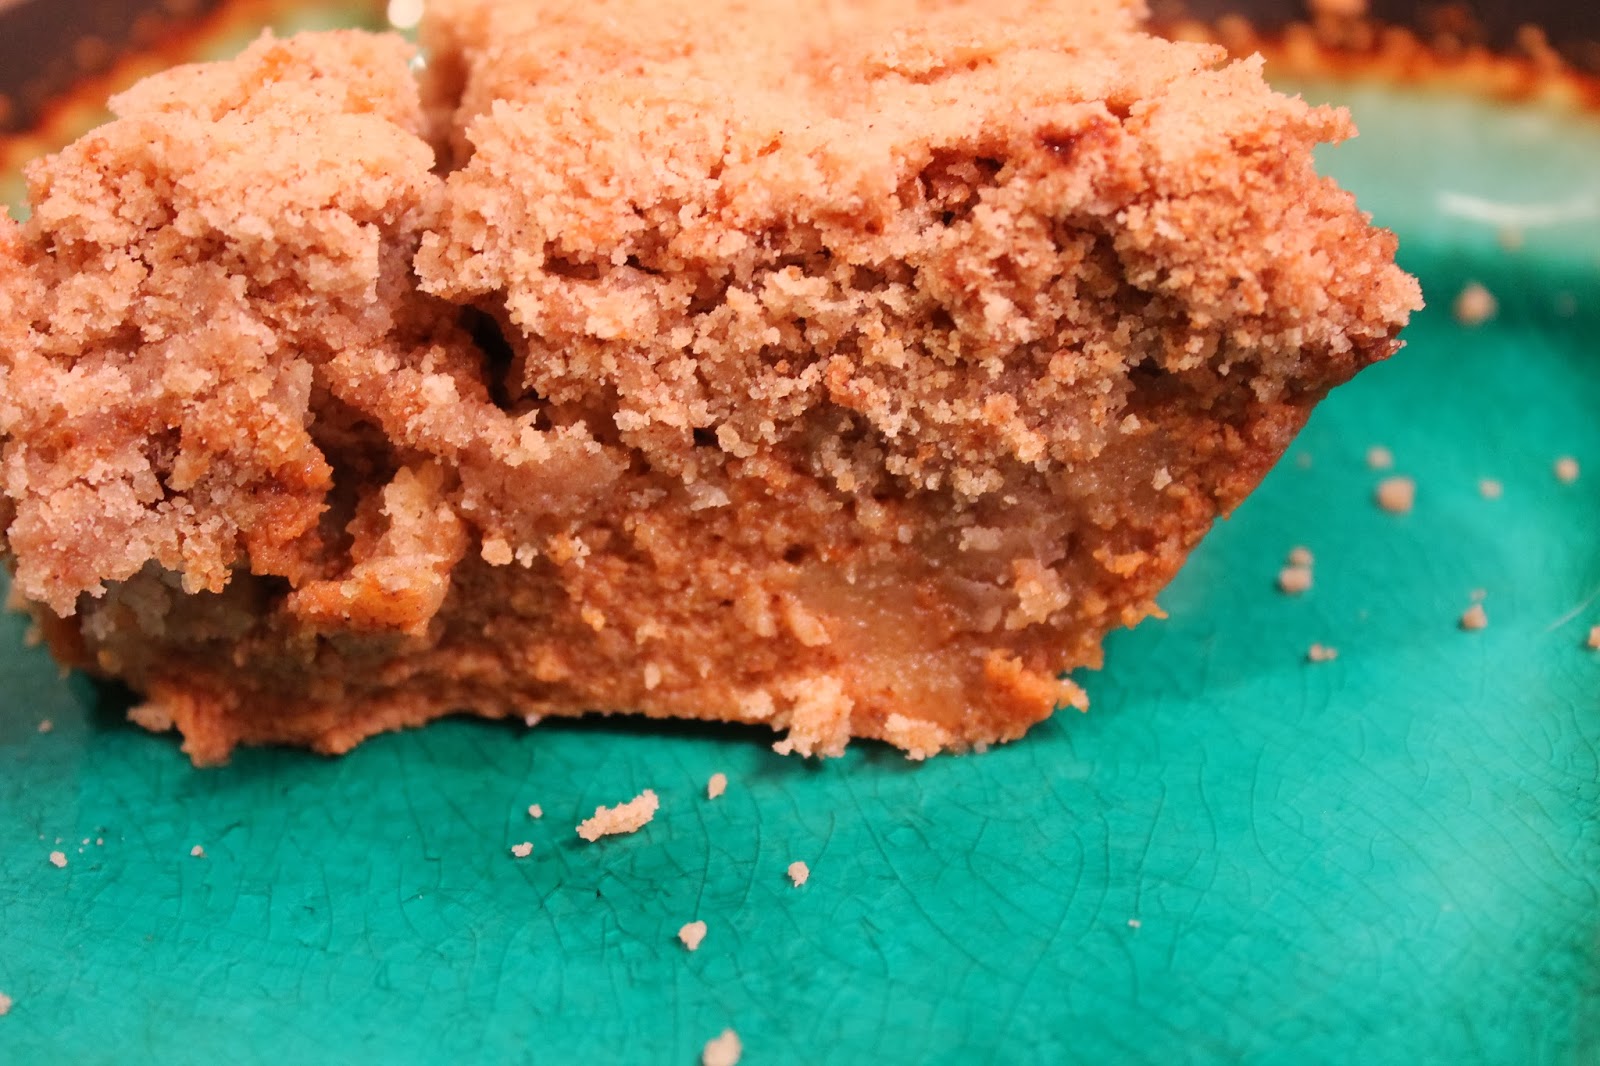
I will add some better photos next time I make it. I wasn't originally planning on featuring this recipe on the blog so I took photos after it was made and the photos aren't the best.


Enjoy!
Tanja
Gluten Free Casually


Wednesday, October 9, 2013

Pumpkin Crumb Bars

Pumpkin Crumb Bars. My kids are all pumpkin pie eaters. (I personally can take it or leave it. Unless I am really desperate and craving something sweet...pumpkin pie just doesn't do it for me!) With the holidays quickly approaching...I needed to find a pumpkin pie or similar dessert that was gluten free and tasted great so EVERYONE could it eat. This recipe is one that even I will eat! :)

I took a couple of different pumpkin recipes and tweaked them until I got the flavor and texture I was looking for with the convenience of using a gluten free box cake mix. (If you don't have a gluten allergy you can make this recipe using a regular yellow cake mix!) Although, I love baking...I also don't like to be stressed over the holidays trying to fuss with making gluten free pie dough! This recipe tastes like the inside of a pumpkin pie...the pumpkin custard is silky smooth but instead of having a bottom crust it has a lovely crumb topping. You don't miss the crust and the slightly spicy topping just melts in your mouth. I could become addicted to these. I wasn't a pumpkin pie lover but I could quickly become a pumpkin crumb bar lover! You can also add about 1/2 cup chopped nuts like pecans, walnuts, almonds or macadamia nuts in the crumb topping. I chose not to add them today. I also think an 1/8 cup of toffee bits would be delightful in the topping mixture but I didn't have any to add to the mixture today.

Pumpkin Crumb Bars:
  • 1 can (15-16 oz.) pumpkin puree (not pie filling that already has other stuff added) You can also substitute sweet potatoes if you prefer
  • 1 can (10-12 oz) evaporated milk (If you don't have evaporated milk then you can cook 3 cups of regular or non-dairy milk on low heat until it reduces to 1 1/2 cups). Evaporated milk is just a cooked down thicker version of milk. Cool slightly before using it. It is not sweetened.
  • 1 cup of brown sugar (I pack it tight in the measuring cup). You can substitute regular or raw sugar if you prefer. I like using the brown sugar because I think it gives it a nice mild molasses  flavor to the custard.
  • 3 eggs (I prefer brown eggs because I personally think they make my baked goods seem fluffier but regular eggs will work fine too!)
  • 3 teaspoons of pumpkin pie spice (If you don't have pumpkin pie spice you can combine 2 tsp. ground cinnamon, 1/2 tsp. ground nutmeg, 1/2 tsp. ground ginger & 1/8 tsp. ground cloves)
  • 1 box of gluten free yellow cake mix (I used Betty Crocker Gluten Free yellow cake mix, 15 oz. size). If you don't have a gluten allergy then you can use a regular yellow cake mix!)
  • 1 1/4 stick of butter (I used real butter because I like the flavor but you can use a dairy free margarine or 3/4 cup oil)
  • 1 tsp. additional pumpkin pie spice or just substitute cinnamon
Cream the pumpkin puree, eggs, evaporated milk, sugar and 3 tsp. pumpkin pie spice together for about 2 minutes or until really smooth. I like to make sure it is whipped really good because it gives a nice silky texture after it is baked. Pour into a greased pan. I used an extremely deep dish 12" pie pan but you can use a 11x7 baking dish, two regular 8" pie pans or if you want slightly thinner bars just bake in a 9x13 pan. I wanted these a little thicker to get a decent layer of the silky pumpkin custard. I put mine in a preheated 350 degree oven for about 15 minutes BEFORE I added the crumb topping.

While the custard was baking, I combined the dry yellow cake mix, melted butter, additional 1 tsp. pumpkin pie spice together until it was crumbly. If you are finding it is too dry and powdery then just add a little extra melted butter or oil and if it is too moist then add either a couple tablespoons of sugar or GF flour or cornstarch to get it into a crumbly consistency. Remove the pumpkin custard from the oven and sprinkle the crumbly mixture on top. Return it to the oven and bake until the custard is completely set and no longer jiggly. (I have tried just sprinkling the crumb topping onto the custard prior to any baking but the crumbs sunk to the bottom and didn't give it the crumb texture I wanted. Therefore, I now bake the custard 15 minutes prior to sprinkling on the crumbs!) A knife inserted into the center should come out clean. It will depend on which size pan you use to bake your dessert but my 12" deep dish took about 50 additional minutes after I put the crumb topping on top of the custard to finish baking. Which is a total of 65 minutes of baking! (Everyone's oven temperature and altitude can vary baking times. I recommend checking your dessert after 40 minutes and check in 5-8 minute intervals until center is no longer jiggly). Crumb topping should be golden brown. I like to serve mine cooled at room temperature. It will slice much better. You can serve it with ice cream or whipped cream if desired.


The pictures don't do the dessert justice. The custard portion is very silky and not too sweet while the crumb topping is slightly spicy and a hint of butter that just melts in your mouth. I was quite surprised at how much I really liked it considering I am not much of a pumpkin person! It will definitely be on my Thanksgiving and Christmas dessert table! It is easier than preparing a regular pie and MUCH more flavor and texture than a plain old regular pie! I highly recommend this for your holiday dessert!

Enjoy!
Tanja
Gluten Free Casually

Sunday, September 29, 2013

"Kinder Chocolate" (Vanilla Cream Chocolates)

Kinder Chocolate. This is my absolute favorite German candy! It's one of the little luxuries (next to Nutella) that I would look forward to in our goody boxes from our German relatives. I fell in love with this candy when I was 5 years old and visited my cousins in Germany for the first time. I love the creamy (yet slightly firm) texture of the the vanilla cream center encased in mouth watering milk chocolate. I could sit and eat an entire little box. Okay, I have done that AT LEAST once....truth be told....more times than I care to admit!  :)

I  have been known to fill an entire carryon suitcase FULL of these! NO JOKE! I am sure security/customs were wondering if I was up to something shady or if I was completely insane. For the record...let's just pretend that I am not crazy. I would also like to mention that my kids and husband also love these candies so the entire carryon full of kinder chocolate wasn't just for me!  If you are lucky you can find Kinder Chocolates at specialty stores in the import section but you pay dearly for them! I only treat people to those on special occasions and still flinch at the imported price!

I was given a challenge by my husband to "copy cat" the recipe for the Kinder Chocolates. Wow! I wasn't sure if I could do it. I tried a couple test batches and...not even remotely close. Finally, after several attempts....SUCCESS! They are pretty darn close to the real thing. Keep in mind that these are very rich & very sweet. I would categorize them in the same family as fudge or truffles. If you cut them into tiny bite size pieces then it makes a good amount. I like to put them in individual little mini-muffin liners (you can find the tiny ones frequently at the dollars stores! I got these cute little pumpkin ones at the dollar tree $1/pack of 100). They look festive and dress up a dessert table or cookie plate! I like to bundle a few of them up and put in a clear cellophane bag and give to friends.

Did I mention how EASY these are to make? They certainly look and taste like a lot of time and energy went into making them but I did it all in the microwave...3 ingredients and DONE! Yep, it's that easy! If you don't have a microwave, you can just cook in a double boiler. Just make sure water/steam doesn't get into your chocolate as it is melting or it will harden and get funky!

Kinder Chocolates (Vanilla Cream Chocolates):

  • 3 1/2 cups of white chocolate chips (I used Guittard brand for today)
  • 1 (12 oz.) pkg of milk chocolate chips (I used Guittard brand today)
  • 1 (14 oz.) can of sweetened condensed milk (this is NOT the same as evaporated milk!)

I melted 6 oz. of the milk chocolate chips in the microwave in 30 second intervals (stirring every 30 seconds) until melted. My microwave is acting hinky so it took about 3 minutes. Don't burn it...you just need it melted and smooth. I foil lined an 8x8 pan (didn't grease it). I spread the 6oz. of melted chocolate chips in the bottom of the foil lined pan as best I could. I tried to spread it pretty even. I put it in the refrigerator to cool a few minutes so it didn't have a runny texture. Next I got a fresh bowl and mixed the sweetened condensed milk with the white chocolate chips. I microwaved in 30 second intervals until smooth and melted. Don't overcook or it will burn. Spread over slightly set milk chocolate. Put in refrigerator to help it set faster if desired. I took the remaining 6 oz. milk chocolate and melted it in 30 second intervals in the microwave until smooth & then poured it as evenly as possible onto the vanilla cream filling. (The filling will have a fondant like texture at first). Cool completely until they are set and easy to cut into bite sized squares.

NOTE: I found it easiest to remove the cooled candy from the 8x8 pan and flip it upside down onto a cutting board. Cut into bite sized squares with a large sharp knife or pizza cutter.


These make gorgeous (and delicious!) little additions to any cookie platter or dessert table for parties, weddings, showers or for little favors. These are also a great little treat for tailgating or casual dessert. They are quick enough to make that you can get your fast chocolate fix!  These would also be great to take camping on a cool weekend. You can use these in place of plain ordinary chocolate in your smores OR use a couple of them in your hot chocolate or coffee in place of creamer! Oh yeah!!!! I am feeling a camping trip coming my way!  ;)

Enjoy these wonderful little treats that are based on a German candy. Our family really likes them!

Tanja
Gluten Free Casually


BBQ Beef

BBQ Beef. This is one of my fall favorites. It is a great way to use up left over roast beef or a couple pounds of lean hamburger. (You can also use the homemade sauce for chicken or pork too!)  It even tastes better the next day. You can't go wrong with this recipe. This recipe has been in our family for a long time. I like to make this when we have a group of friends camping together. It is yummy just re-heated on the campfire! I like to freeze it and just toss it in the cooler. Serve with buns (gluten free for me!) and chips & raw veggies = camping dinner!  :)

It is a great recipe to make for casual parties, tailgating, camping or pot lucks. It can be kept warm in a crock pot or re-heated easily on a grill, stove top, oven or microwave. It doesn't get much simpler than that! I know a lot of people use the store bought BBQ sauce and some of it is pretty good but a lot of them have artificial flavors that can give you serious heart burn. Not to mention, many of them have gluten added to thicken the sauce. I personally prefer the homemade version best! You can serve BBQ beef on my favorite gluten free corn muffins (see recipe on the blog) or on a gluten free bun (Udi's makes a pretty good GF bun). Of course if you don't have a gluten allergy...just use regular buns!  :)

.....And did I mention that leftovers FREEZE great?!

BBQ Beef Recipe:

  • 2 pounds of cooked shredded beef or cooked lean hamburger (you can also use shredded chicken or pork if you prefer). My grandma Goldie used to use ground hamburger for the Moose pot lucks. I prefer shredded beef best but I won't turn down any of them! :) 
  • 1/2 onion, chopped fine and cooked until soft (you can either cook it with the meat or in a little water in the microwave or stove top. You don't want crunchy onions in your sauce!)
  • 1 cup ketchup (I used Heinz which is marked gluten free on the back of bottle)
  • 1/4 cup brown sugar (I used raw brown sugar today but regular will work too. Add a little less if you like it more tangy or add a little extra if you like it sweeter)
  • 1/2 tsp. dry ground mustard (this is found in the spice section of your grocery store)
  • 1/2 tsp. chili powder
  • 1/2 tsp. chipotle chili powder (optional. This is something I like to add because we like the smokey flavor. If you don't have it on hand, I wouldn't run out to buy it)
  • 1 tbs. vinegar (I used white vinegar today but you can use apple cider vinegar)
  • 2 tbs. worcestershire sauce (I used Lea & Perrins which was labeled gluten free)
  • 1 cup broth or water (I used beef broth from my pot roast)

Heat everything on the stove top (except the meat). Cook until it comes to a boil and the sugar and spices have dissolved. Pour over the meat. At this point, I like to put it in a roaster or casserole dish with a lid or foil cover & bake @ 300 degrees for about 1.5 hours in the oven until all the juices soak up into the meat. Or put it in the crock pot on low heat for a couple of hours. If you are not going to eat it today....just mix it all together and let it cool. Place in refrigerator overnight. The juices will soak up into the meat while it rests in the refrigerator. Remove the next day and heat & eat. (If you need to eat it right away and the sauce hasn't thickened on its own yet....just add a tablespoon of either corn starch or tapioca starch. It will thicken quick without altering the flavor).

NOTE: I have used 1 tsp. regular yellow mustard (like you use on hot dogs) in place of the dry mustard spice in a pinch. It works. (I like the spice better but it does work). I have also used 1 packet of dry onion soup mix (gluten free) mixed with the 1 cup of water in place of broth and chopped onions. Sometimes you just have to use what you have on hand.

This is a good recipe to use on a rotisserie chicken. Shred the chicken and make the sauce. Quick & Easy!  I have also used up left over turkey from Thanksgiving with this recipe. I love easy recipes that are versatile. You can use it on many different types of meat! I used to make the sauce and cook vegetarian crumbles for my daughter! The sauce is also fabulous on ribs & brisket or even meatballs!


Enjoy your afternoon! I am going to go eat my yummy sandwich on my lazy Sunday afternoon!

Tanja
Gluten Free Casually

Tuesday, September 17, 2013

Bordeaux Brownies

Bordeaux Brownies! The taste of See's famous Bordeaux chocolates mingled with brownies. Yummy! Rich! Exciting!

We absolutely love See's chocolates at our house. (If you live on the west coast then you know what I am talking about! If you don't then you are missing out!) My husband's favorite is the Bordeaux candy. As we were driving around town running errands...we passed a See's candy store. He said his mouth was watering for a Bordeaux candy. (It was early Sunday morning and the store wasn't open so I wasn't able to indulge him!) I told him that I was going to make brownies today. He said he preferred his brownie frosted. Hmmmm.....my brain started thinking about a new combination that might be tasty. The rich Bordeaux style candy topped on a brownie in lieu of frosting. The only problem is that I had to find a recipe for Bordeaux candy. Although my husband would have loved the original See's chocolates just plopped on top of his brownie....that is too expensive for me unless I was only making a single serving brownie!

My online search found a recipe for Bordeaux candy at theterrycookbook.blogspot.com. (It is a See's copy cat version and it was very close to the real thing!) I was very impressed with the results and I will be making them again this year as little truffles for the holidays. However, today I wanted to transform the delicious little candy into a frosting for my brownies. It does require cooking it on the stove top but it was worth the effort! I usually make my brownies from scratch but I wanted to try out the Trader Joe's version of their gluten free brownie mix so that is what I used today. It was quick, easy and very dense. I will be buying them again! Although I love to bake....sometimes the convenience of a boxed version is great to have on hand for last minute desserts. (I have tried the following gluten free brownie mixes with good results so far: Trader Joe's, Betty Crocker & Baker's Corner from Aldi). If you don't have a gluten allergy then you can just use your favorite brownie mix or homemade recipe instead!

Bordeaux Brownies:
  • 8x8 pan of brownies, prepared (if you are making a 9x13 recipe then either double the Bordeaux candy recipe or just put a thinner layer on your brownies. My husband likes his thick just like the candy version!) I used Trader Joe's Gluten Free brownie mix in today's recipe, 8x8 pan size
  • 1 cup brown sugar
  • 1/2 cup real butter 
  • 1/4 cup whipping cream (also called heavy cream. This is NOT Cool Whip or cream that is already whipped and fluffy. This is liquid! It is found in refrigerator section near the milk)
  • 1/2 tsp. instant coffee granules (don't worry these won't have a coffee flavor at all!)
  • 1/2 tsp. salt
  • 2 cups powdered sugar (also called confectioner sugar)
  • 10-12 oz. semi-sweet or dark chocolate chips (If I have any left over melted chocolate then I just throw some yummy things like nuts, gf pretzels, raisins, cranberries, etc into the chocolate and drop onto waxed paper until set). 
Prepare and bake the brownies as directed on the package (or make homemade version). My recipe today is based off of 8x8 pan size brownies. Cool brownies to room temperature. (See my blog for a gluten free brownie recipe if you want to make a batch from scratch!)

I suggest having all your ingredients measured and ready to go because once this starts boiling you need to move quickly. Combine the brown sugar and butter in a saucepan over medium heat. Bring to a full boil. Boil for 2 full minutes, stirring frequently. Stir in heavy cream, coffee & salt. Bring back to a boil and boil for a full 30 seconds, stirring constantly. The mixture will be still fairly runny. Remove from  heat and cool for 10 minutes before adding powdered sugar. Mix well until no lumps are left. It should now have a heavier texture similar to fudge or fondant. Spread onto brownies. (If you want a thinner layer on your brownies then you can roll the extra Bordeaux candy into balls and dip into melted chocolate for candy!) Melt the chocolate chips in microwave in 30 second intervals, remove & stir at each 30 seconds until smooth. (If you are having a hard time getting the chocolate to melt smooth, add 1 teaspoon of Crisco) Spread over brownies. It will take a couple of hours at room temperature for the chocolate to set. You can harden the chocolate quicker by putting it in the refrigerator but then the brownies will also chill. Leftovers can be frozen for a treat at a later date! :)

Keep in mind that these are very sweet & very rich brownies! If you chose to just make the candies instead of spreading it onto the brownies....just follow the recipe (minus the brownie). Let the candy mixture cool. Roll into balls and flatten slightly. Dip into melted chocolate and you can roll into chocolate sprinkles to mimic the See's Candy version. Place on waxed paper to set.

Ingredients that I used today

This is what it looks like while cooking before adding the powdered sugar

Thick, chewy, rich brownie!

Ready to eat! These can be sliced thin and used on a dessert tray for parties or tailgating!

Yummy!

Ready to eat!

Enjoy!
Tanja
Gluten Free Casually


Monday, September 9, 2013

Egg Blossoms

Egg Blossoms. These are a simple, inexpensive but make a great addition to any breakfast or brunch menu! (We have even had them on busy nights for dinner!) I have been making these since I was in junior high school. I can't remember if I saw this recipe in a magazine, 4H club or in Home Economics class....but it was something easy that I could make and everyone just loved them! I wasn't much of a cook back in junior high school but I could make these (and cookies which about summed up my cooking skills back then!)

I love these because they only call for 2 ingredients....ham and eggs! (You can substitute smoked turkey if you prefer). I generally get the Black Forest Ham at the deli (sliced on the thin side but not shaved) but this time I used the sliced Rosemary Crusted Ham from Trader Joe's. Although the flavor of the Rosemary Ham is one of my favorites...it wasn't as firm to work with and wanted to fall apart....therefore my egg blossoms are not very pretty in today's photo.

These are great because they go together quickly and you can serve them warm or chilled. Since there is minimal prep or cleanup...these are one of my go-to recipes for the busy holidays. I like to make them when I have a brunch or a bunch of house guests because you just put them in a muffin pan and toss them in the oven and they are done! It is like having ham with a poached egg. These are also great for people that are on low-carb diets, gluten free diets, and for those that just love breakfast food! Leftovers freeze great too! For those that prefer scrambled eggs, you can just scramble your eggs or use liquid egg whites (like Egg Beaters) instead of the putting the egg in whole. I serve them on a beautiful platter and garnish the platter with some fresh Rosemary or Basil from my yard.

Egg Blossom Recipe:
(You can adjust the recipe to the amount you need. 1 slice ham + 1 egg per blossom)

  • 12 eggs (more or less depending on how many blossoms you want to make)
  • 12 slices of gluten free ham or smoked turkey (more or less depending on how many blossoms you want)
  • Muffin/Cupcake pan(s)

Lightly grease muffin pan (I did not use cupcake liners). I used a non-stick cooking spray. Fold the ham slice in the muffin cup and overlap edges if needed. It should be flat on bottom in the shape of the muffin cup. You will want the ham edges to stick out of the muffin cups on the edges a little bit. Unfortunately my ham was not flexible and it tore easily today so my blossoms aren't quite as pretty but they were still tasty! Crack each egg and put one egg in the center of each ham cup. (You can scramble your eggs or use Egg Beaters instead if you prefer). Sprinkle salt lightly if desired. (I also sprinkled a little bit of chopped Rosemary on top of mine today). I covered them lightly with foil so it "tented" up and wouldn't stick to my eggs. This keeps the eggs from getting rubbery and crusty when they cook. Bake at 350 degrees for about 20 minutes or until the clear part of the egg has turned white and is slightly firm.

Before Bakine

Before Baking

Ready to eat!

Up close view

Inside of the yummy little blossom

The inside is similar to a poached or boiled egg
I will post some additional pictures in the future when I have better photos. In addition, I will make some with scrambled eggs in the center so you can see how that turns out also).
NOTE: Those with a gluten allergy, be sure to verify that the deli ham or turkey you get is gluten free. Not all lunch meat is gluten free!


Tuesday, September 3, 2013

Sweet & Spicy Pretzels

Sweet & Spicy Pretzels. Cinnamon, Sugar & Chipotle! I will warn you in advance that these are completely addictive! I ate almost the entire batch myself over the course of the week. Every time I walked past them...they just jumped into my mouth! These are easy to make and I am sure you can play around with the recipe and add or delete ingredients to customize them. (I used gluten free pretzels but you can use regular pretzels if you don't have a gluten allergy or you can use other gluten free crunchy items like Corn Chex, Rice Chex or add nuts if desired. I chose to just keep it basic). I found the recipe on the internet and changed it just a little so I could use ingredients I already had at home.

This recipe is great for parties, tailgating, game day, road trips, card games, camping or hostess gifts if you put them in cute little festive bags or a nice jar. They are a very easy to make but one that everyone can enjoy. They are even a great treat for a casual weekend movie night! You can dress them up with some melted chocolate drizzle or just leave them plain. I like them both ways. (I tried them without the chocolate drizzle and then again with the drizzle....just for quality assurance of course!) I would leave the chocolate drizzle off if you plan on making them specifically for a road trip or camping as the chocolate may melt if you are in a warm climate. Of course that wouldn't stop me from eating them! :)

I used Snyder's brand gluten free pretzels for this batch today. I have found the Snyder's brand at the following places in Arizona: Albertson's Grocery Store near 91st Ave & Bell Road, Military Commissary, and Whole Foods. If you can't find them then ask your grocer. Many of the grocery stores will order them for you if you ask. Glutino pretzels also work well. (The reason I used Snyder's brand today is that they are the same price as the regular Snyder's pretzels and they allow you to use Snyder's coupons on them. Since I had $1 off coupons....they were a bargain for me today!) You can easily cut this recipe in half if you are just using one smaller bag of pretzels.

Sweet & Spicy Pretzels:
  • 16-18 oz. Pretzels (I used two 8 oz. bags of Snyder's Gluten Free Pretzels) but you can cut the recipe in half if you are using a smaller bag or you can add other ingredients like nuts, Chex, etc. You can use regular pretzels if you do not have a gluten allergy!
  • 1/2 cup oil (I used Olive Oil)
  • 4 tbs sugar (I used Raw Sugar but you can use regular sugar)
  • 2 tsp. ground cinnamon 
  • 1/2 tsp. ground Chipotle or Cayenne Pepper (You can omit this if you prefer or add extra if you like it more spicy. I just wanted a hint of heat and since kids were eating it too...I didn't want to go overboard on the pepper. It turned out great. You got the sweet cinnamon and sugar and then just a hint of heat tingled on the tongue.)
  • 1/2 cup cinnamon sugar (I just used 1/2 cup sugar + 2 heaping tablespoons of cinnamon mixed together. This is in addition to the 4 tbs. sugar & 2 tsp. cinnamon already listed above. This will be sprinkled on later. You can also add a tiny pinch of Chipotle or Cayenne Pepper to this sugar as well if you want a little extra zip). 
  • 1 cup of either white or semi-sweet chocolate chips, optional
Whisk the oil, 4 tbs. sugar, 2 tsp. ground cinnamon, 1/2 tsp. ground Chipotle together. Pour over the pretzels and stir until well coated. You can either microwave the coated pretzels for 1 minute and remove and stir gently & put back into microwave for additional 45 seconds OR spread onto a cookie sheet and bake at 275 degrees for 10-15 minutes (check to make sure nothing is burning after 10 minutes!). Sprinkle with the 1/2 cup of cinnamon sugar mixture generously while still warm. Spread out the pretzels onto a couple of paper bags or newspapers to cool completely. (It will also soak up any extra oil).

At this point you can melt one cup of either white chocolate or semi-sweet chocolate in the microwave in 30 minute intervals (stirring every 30 seconds) until melted completely so that you can drizzle it. (Or you can melt on the stove top in a double boiler). Drizzle melted chocolate over the pretzels. I think they look just perfect at this point but you can take it a step farther and sprinkle with some festive holiday M&Ms or sprinkles if you really want a festive accent! (These pretzels are also great without the melted chocolate or any extras. Just the simplicity of the cinnamon sugar with the salty pretzels is a wonderful treat for the tongue!)

I suggest at this point you start bagging them up for friends and getting them out of the house if you don't want to increase your pant size over the next few days by hogging them all down by yourself! I love sweet & salty together and of course I added a little Chipotle so I couldn't quit eating them. My mouth is watering right now just thinking about these little crunchy delicious pretzels! If you are making them for game day then put them in the clear cellophane bags and tie them with curly ribbon in colors of your favorite team! My little bags would be tied with Scarlet & Gray to support the Buckeyes. The Michigan fans (most of my friends out here in Arizona) would not be allowed to eat them. JUST KIDDING! These cute little treat bags not only look awesome for guests but will keep you from being tempted to put your hands in the bowl and continue eating them!


I hope you enjoy this super yummy and very easy recipe!

Tanja
Gluten Free Casually